 Venice.ai
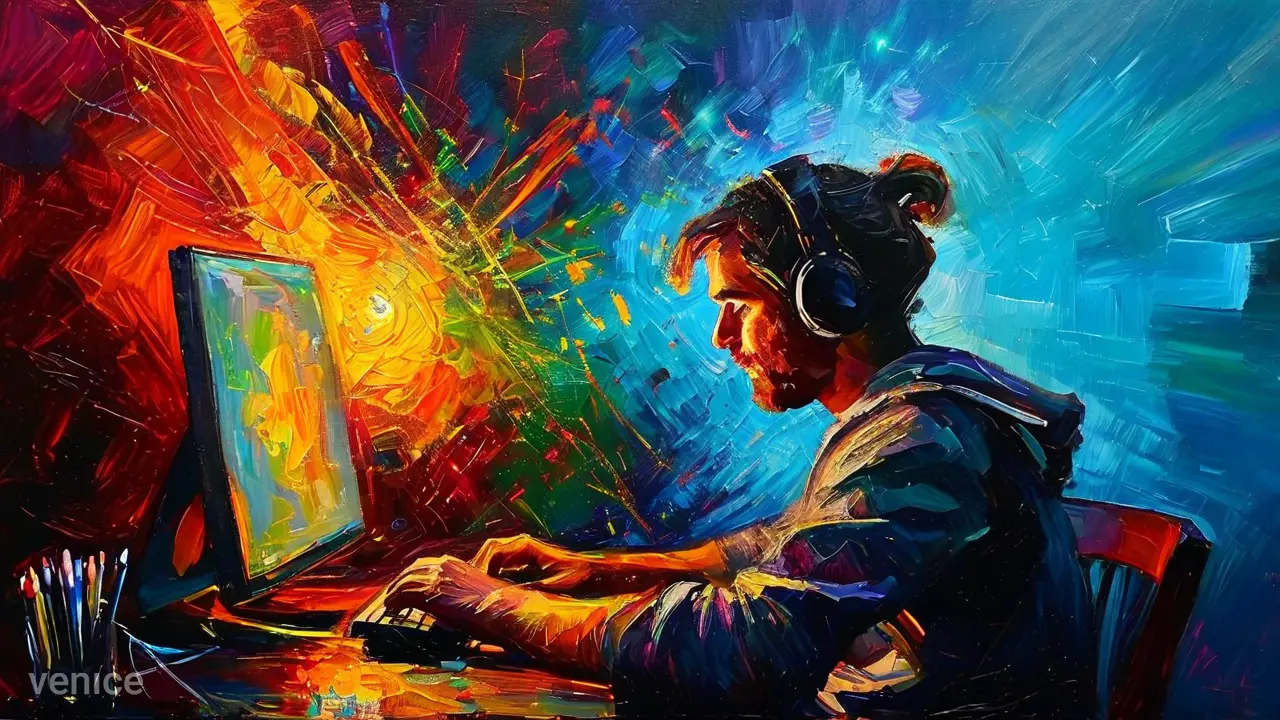
Image Prompt: Artist on desktop prompting AI to create images. Style: Impressionism. Aspect ratio: 16:9
Venice's image generation feature allows you to create unique visuals quickly and easily.
We host the leading open-source image generation models in Venice (these are generally derived and tuned versions of Stable Diffusion). Each model has its own strengths:
- Playground v2.5: great all-around model
- Fluently XL Final: adept at naturalistic scenes and faces
- Dreamshaper & Pixart Sigma: great at cartoons, animations & anime
We recommend using Playground as a base to start from, and using the other models for specific applications.
This guide will show you the ropes, covering basic to advanced techniques to get the most out of our image generation feature.
But before we dive into that…
What makes Venice different vs other AI apps?
Venice stands out from other AI image generation apps in several ways:
- Privacy: We don't see or store your prompts or images on our servers. Everything is stored locally in your browser.
- Uncensored: We offer more creative freedom by not adding content restrictions to the models
- Open-source: We use cutting-edge, open-source models that are continuously improved by the global AI community
- User control: Pro users can access additional settings for more customized AI interactions
Read about what “uncensored” means in Venice
Ok, now that you know what differentiates Venice from other leading AI apps, let’s dig into different image generation techniques.
Beginner: simple image generation prompts
Let’s start with the most straightforward approach to image generation. To create a simple image in Venice:
- Select “Generate Images”
- Enter a brief prompt, e.g., "Sunset over a lake"
- Hit enter
Venice will then generate an image based on these inputs. This method works great for quick ideas that need simple visuals. Try changing the image models with your same prompt to see the different outputs.
Intermediate: detailed prompts & adjusting settings
For more refined images, construct detailed prompts that include:
- Lens type: Specify the type of lens for different effects (e.g., wide-angle, fisheye, macro)
- Camera angles: Describe the viewpoint (e.g., selfie, bird's-eye view, close-up, worm's-eye view)
- Lighting: Detail the quality and source of light (e.g., sunset, neon-lit, soft diffused light)
- Atmosphere: Add environmental conditions (e.g., foggy, rainy, dusty, clear crisp day)
- Framing: Indicate how the subject is positioned (e.g., centered, foreground, background, rule of thirds, symmetrical composition)
Example prompt: "Cyberpunk street market, wide-angle low shot. Neon-lit rainy night, foggy atmosphere. Rule of thirds composition with holographic ad on right.
This level of detail helps Venice create images that match your vision more closely.
If you want even more control over the output, go to the image settings (note: the setting gear provides different options within image setting and chat settings) where you can also choose a style from the dropdown menu, such as Comic Book, and select the aspect ratio, like cinema (16:9).
When you’ve selected your style and aspect ratio, hit the “Regenerate image” button.
_Pro users get access to 70+ styles & higher resolution – _Upgrade Now
Advanced: generate elements separately & combine
With image generation your prompt will never be adhered to 100% by any model. Especially when generating characters & backgrounds, preciseness with both can be a challenge.
A creative solution for this is to generate each element you need in your image separately and then overlay these in any basic image editing software:
- Break down the scene into separate elements, e.g. character (“blindfolded woman”) & background (“blue background”)
- Set your style and settings before generating
- Generate the character & background with each their own prompt
Download the images to your device
Then go to your favorite image editing software:
- Remove the background where/if needed (using removebg.com, or Canva etc)
- Overlay the two images (in Google Sheets, or in Canva etc.)
Here’s the final result:
This method gives you more control over the final image, especially for complex or highly specific visuals.
More settings: negative prompts, prompt adherence, safe mode & more
Clicking on the gear icon in the input field will take you to the settings menu.
In the Intermediate section we covered the Styles & Aspect Ratio settings, but as you can see there are more settings you can play around with to change the output.
Let’s run through these rapid-fire:
- Negative prompts: Tell Venice what to avoid in your images. This works like a "do not include" list that applies before any generation begins. Similar to a system prompt, but in reverse.
- Adherence: Controls how closely the AI follows your prompt. Lower values allow more creativity, higher values stick closer to your description. Also known as CFG Scale.
- Hi-Res: Creates higher quality, more detailed images. The loading time for hi-res images are longer than standard. Please note that chats with a lot of hi-res images tend to become slow and you will need to start a new chat to improve responsiveness.
- Hide Watermark: Removes the Venice logo from generated images.
- Safe Venice: Applies content filters to prevent potentially inappropriate images. Pro users can disable this.
- Seed: Think of this as a starting point for Venice's imagination. Using the same seed often results in images with a similar style.
- Steps: Determines how long Venice processes your image. More steps can improve quality, but 30 is usually sufficient for most images.
Finally, when generating images with Venice, keep these additional tips in mind:
- Front-load important details: Image models tend to pay more attention to words at the beginning of your prompt. Put the most crucial elements of your image description first.
- Be specific with attributes: Instead of "beautiful woman," try "woman with long red hair, green eyes, and freckles." The more specific you are, the more likely you'll get what you want.
- Iterate and refine: If you don't get exactly what you want on the first try, use elements of the generated image you like in your next prompt. Iteration is key to getting the perfect image.
- Use Venice text generation to generate image generation prompts: This is how the real pros do it. You describe in broad terms and simple language what you want to visualize, and then prompt Venice (in text mode) to generate an image generation prompt that optimizes for image generation for your description.
Using these techniques can help you get more precise results from Venice's image generation models.
Upgrade to Pro to experience the full power of Venice’s image generation capabilities
➤ 1,000 Image prompts / day
➤ 70+ image styles
➤ Remove image watermark
➤ High resolution images
➤ Ability to disable Safe Venice mode
Using generated images in your content
Venice's image generation capability opens up a world of possibilities for visual content creation for your business or side projects. We've integrated it into our own content, using Venice-generated visuals for all our blog headers.
But the applications extend far beyond blog headers. Use images generated with Venice in:
- Social media posts graphics
- Video thumbnails
- Slide backgrounds
- Proof-of-concept visualizations
- Email newsletter headers
- Podcast cover art
- Infographics
- Custom event banners and posters
- Product mockups and prototypes
Your creativity is the limit.
Images generated by the Venice community
Venice users have created impressive images, from surreal landscapes to detailed character designs, using it in their content creation on socials.
Here are a few we’d like to highlight:
Share your best generated images with us on:
We look forward to seeing your creations.
Back to all posts